
3 Mountains 1 Day Part 4
The Field Test
It's hard to know how effective your training is without periodically testing it or observing performance in the field. I feel good, and my TrainingPeaks numbers still show steady improvement, but I'm always wondering how it transfers to a big day in the mountains. When Joe Vogel (split_pt) texted with a significant objective in his sights, I jumped at the chance to join him.
Joe wanted to hike and climb the Three Sisters in a single day. Hell yeah, let's do it!
I was eager to undertake a traverse of the Three Sisters on foot with him for a few reasons.
Joe is fit and he’s the kind of partner that makes a long day seem a little shorter.
Time flies when you're having fun, and Joe is always having fun. I was also curious to see if my lower training volume, as of late, would carry me comfortably through the day.
The evening before our walk, I met Joe at Devils Lake Campground on the Cascade Lakes Highway. We left a car there and drove back to my place in Sisters. When we got to my home, we both laid out every piece of gear we intended to carry. We didn't need much. Good route beta indicated that the routes that we'd be climbing were dry and free of snow and ice.
Dry conditions meant we could go light with our footwear. We both opted for mountain-oriented running shoes and no traction devices. We'd need to ascend the top of the Colier Glacier, but it's low angle and presents no risk of a crevasse fall. By committing to the same type of footwear, we agreed that we'd go as far as that decision would safely allow and no further.
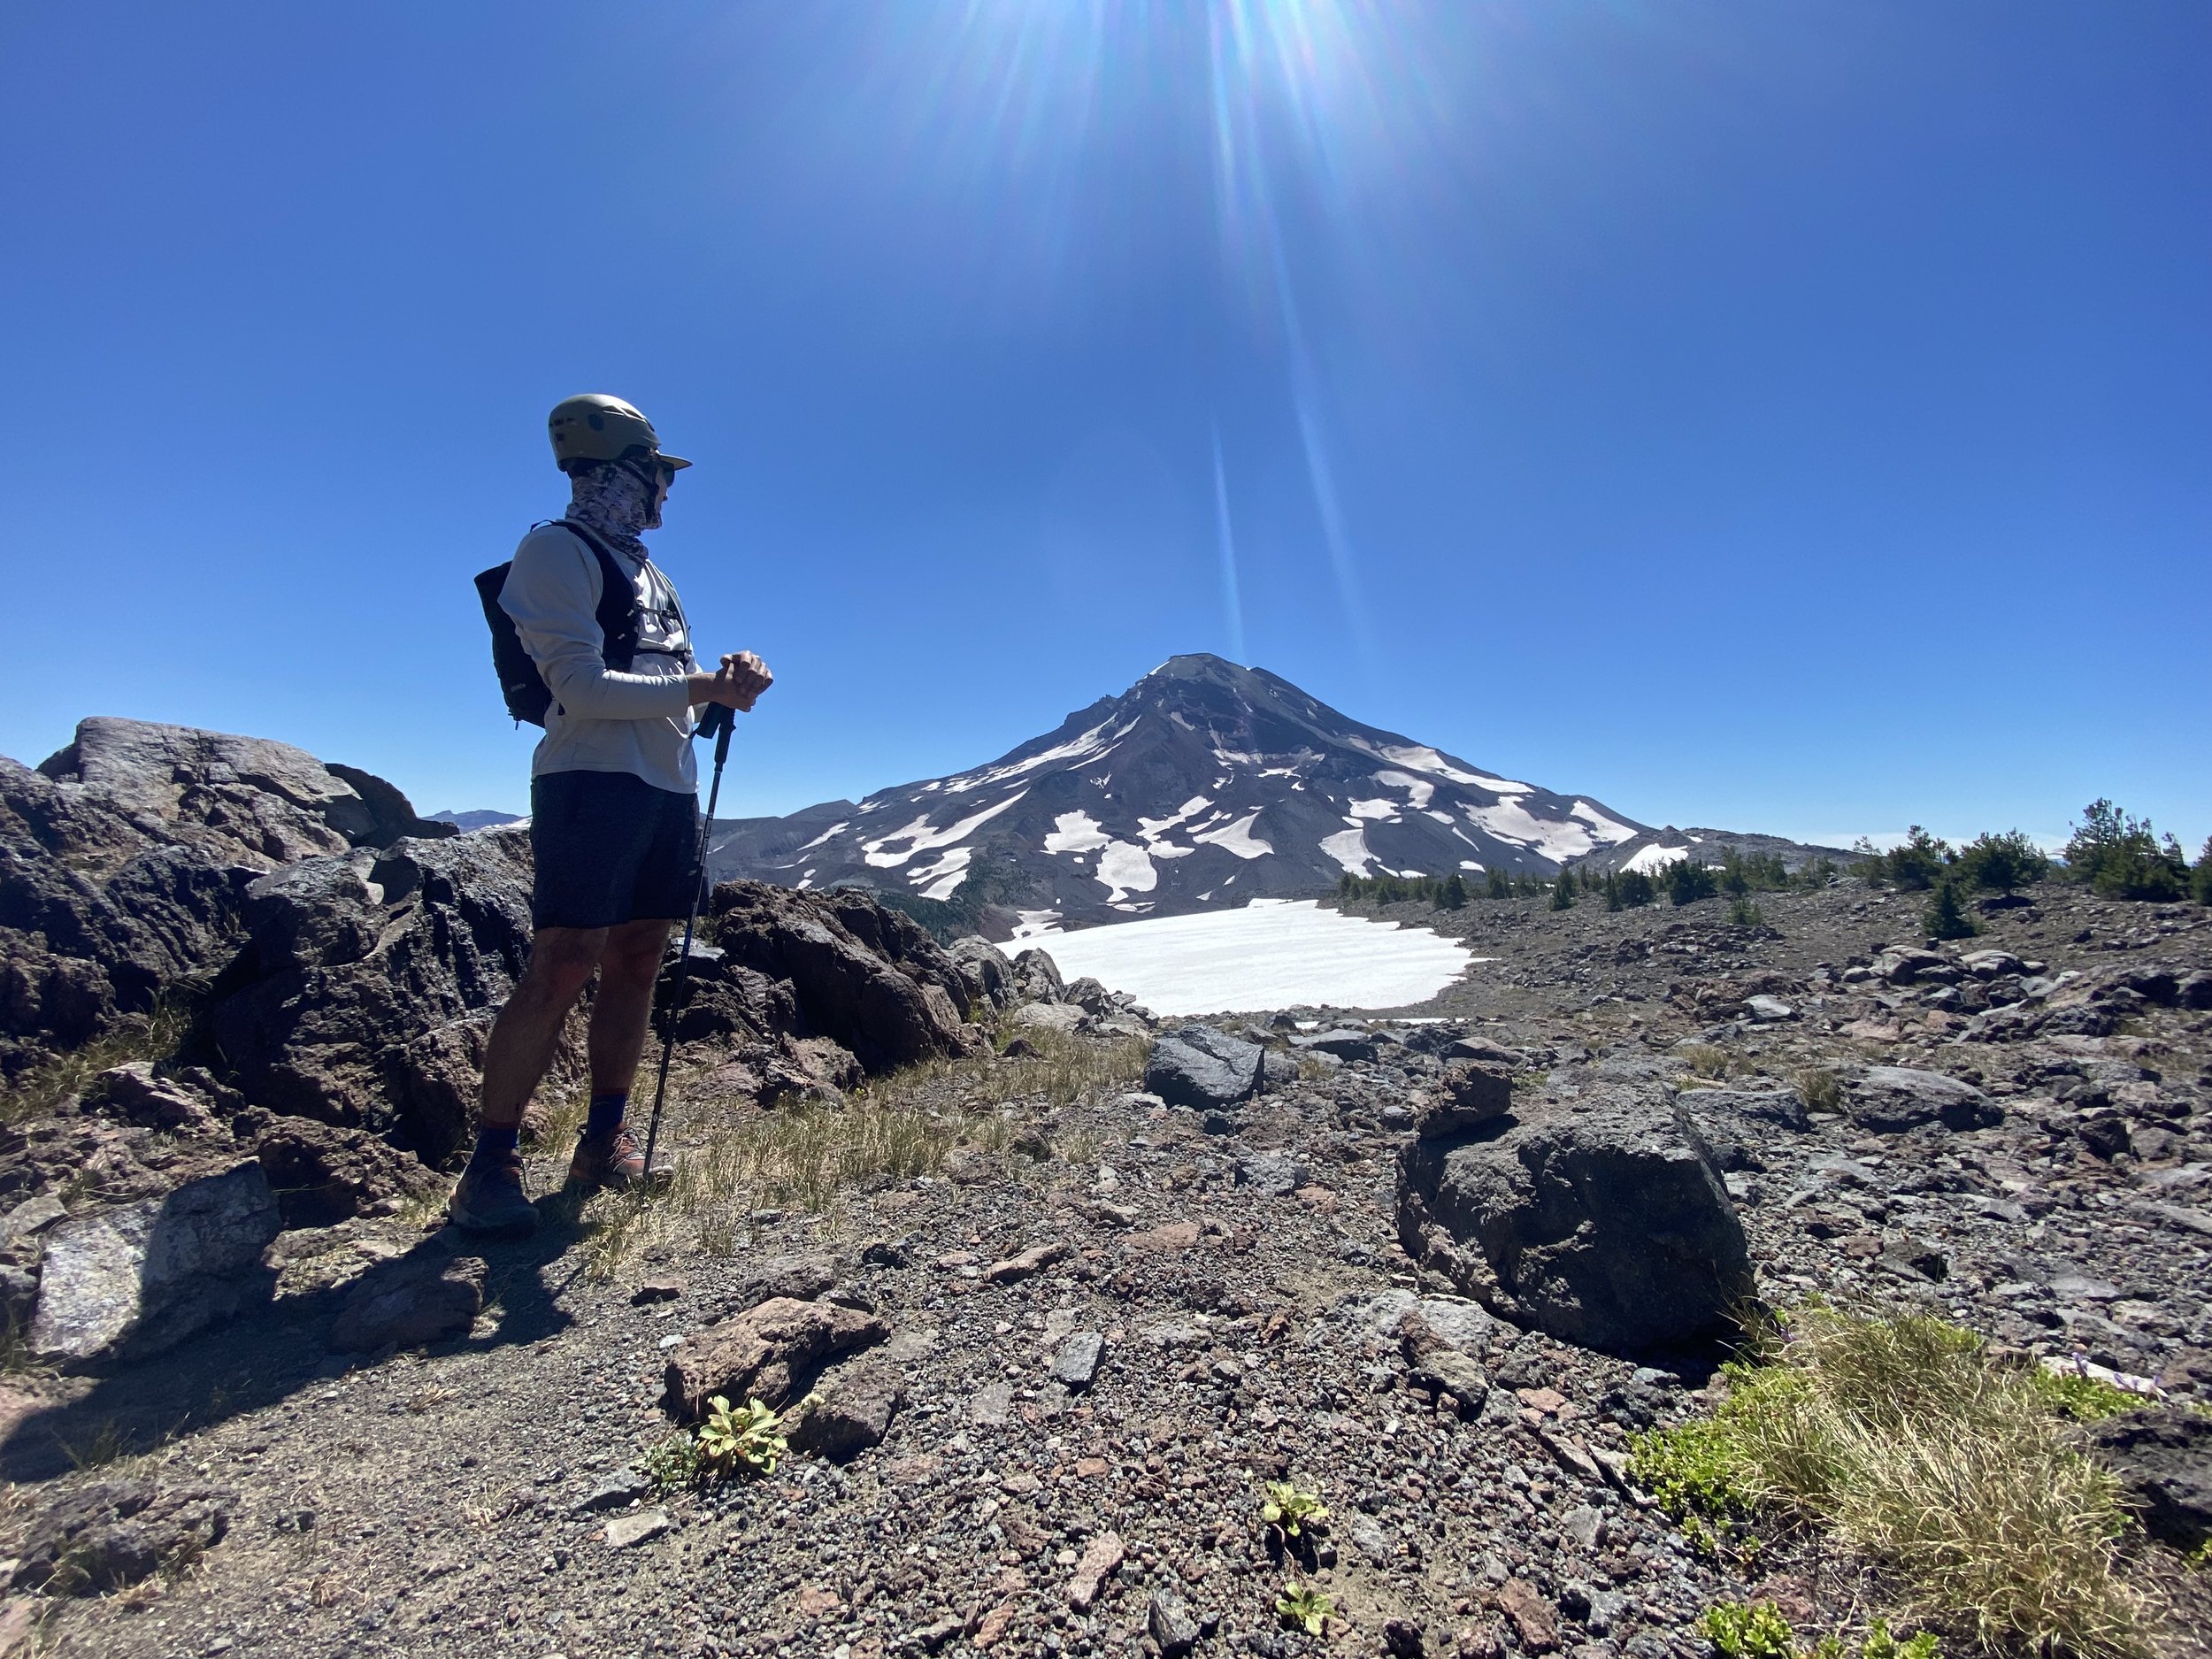
The weather was forecast to be warm and sunny with no wildfire smoke. Confidence in a good forecast helps you be decisive when deciding how to dress. My kit included socks, running shorts, a light t-shirt, sun-hoody, ultralight shell, sun hat, buff, and shades.
What about the hazard? Tell me you're a guide without telling me you're a guide. Understanding the risks you'll encounter on a big day in the mountains is crucial. The most significant hazards during our day would be rock fall, fatigue, abrasions from sharp rocks, athletic injuries to the feet, ankles, and knees, and sunburn.
We added climbing helmets to our kits to address the rock fall hazard. We'd also need to be careful not to kick rocks when we're above one another and to only stop in the safest available terrain. Our first aid kit included a few rolls of athletic tape, an ace wrap, a small bleed kit, a mylar bivy sac, a lighter, and a Garmin InReach Mini.
Headlamps would light our way for the first hour of hiking. Even though we'd only need the headlamps for a few hours, we moved faster in the dark than we would have otherwise. It was also nice to know they were there if the day got long and we needed to hike at night.
I packed about 2 liters of Water in soft flasks. Water often flows up there when the sun is out, and the air is warm. Two liters would be plenty to get us started, and we'd top off along the way as needed.
There are two ways to fight fatigue during a long day. One is to keep the intensity low by sustaining a lower heart rate that allows your aerobic system to power your long endurance. The second way is to eat. Fasting has its benefits, sure, but for a long day on an objective you've not had experience with, you need to be ready to eat early and often. I made a deliberate nutrition plan for the day that I could be confident in then I added roughly 1/3 more volume of food to be safe.
I found a set of light poles helpful throughout the day. I put them away during the technical scrambling on North Sister and didn't use them while running the flats or downhills, but I do love to use them while climbing and descending steep, loose slopes.
Small running packs seemed like the obvious choice for so little gear. My Black Diamond Trail 8 was a perfect size.
We looked at maps and checked the weather forecast as we checked our gear. By the time we finished putting together our kits, we had a good plan, a shared mental model of the big picture, and realistic expectations going into the day. That is a good feeling to have the night before a big day.
The following day we started from Pole Creek TH at 3:40 am. We ran into a few other small teams heading up to North Sister. There was a friendly and optimistic vibe in the air.
We made quick and easy work of the approach to treeline. The sun rose as we walked past the Hayden Glacier en route to the saddle between N Sister and Prouty Point.
Volcanoes are loose. Boulders shift, scree rolls out from underfoot, and talus teeter-totters at the worst possible moments. When you're climbing, it can feel like your not making any headway. When descending, it can be easy to feel like you could trigger a landslide at any moment. It can all be exhausting. The harder you fight it, the more exhausting your effort is. Experience with these conditions provides advantages in efficiency and movement economy.
As we slowly wrapped around N Sister's south-facing slopes to gain the SW ridge, I thought that almost none of the terrain we were on looked familiar. It wasn't nearly as exposed and spooky as I remember. It was enjoyable, yet it was loose. I think it's probably more hazardous on a busy day because of rock fall. I can also see it being 100% more dangerous when the terrain is a mix of firm melt/freeze snow and dry loose rock.
When I skied N Sister on the traverse with Adam and Greg, we climbed the south ridge to just below the summit and descended the S Bowl before climbing the Hayden Glacier to Middle Sister. We were on snow nearly all day.
On this climb, we made our way up to the SW Ridge. When we gained the ridge, we emptied the scree and sand from our shoes for the first time. The SW Ridge was beautiful, and it only took a little while to climb to where we'd need to begin avoiding very steep and loose rock gendarmes. We traversed north along the steep and exposed west-facing slopes leading to the "Bowling Alley." The bowling alley is a chute that leads directly to the summit blocks of N Sister. The scrambling is loose, so we were cautious. The last 10 meters involve exposed class 4 climbing.
We found our way to the top of peak numero uno. We were feeling energetic. Now we'd need to make our way down to the Colier Glacier safely. On the way down, we ran into a few other parties that had taken different routes to gain the upper mountain. The positive vibrations were a contrast to the ominous reputation of North Sister.
We descended the same route we climbed and then made our way onto the Colier Glacier. Before crossing, we emptied our shoes a second time. There's a lot of sand and scree up there. We crossed the top of the Glacier and made our way up to the saddle between M Sister and Prouty Point. With the most technical climbing behind us, it was tempting to pick up the tempo, but we held back and kept it to a "gentleman's pace." The route finding was easy, and the climb went by fast. Before we knew it, we were on top.
Still feeling strong, we began the long descent down the south side of Middle Sister. This slope is steep and loose. Believe me when I say it's a better ski run than a hike. When we reached the bottom, we emptied our shoes a third time. I'm beginning to think gaiters would be helpful.
It was a long walk south to reach the base of our chosen route up South Sister. We foot glissaded down the Irving Glacier and devoured the Chambers Lakes Flats. At this point, we'd already climbed about 6900 vertical feet and would be climbing another 3100'. We'd hiked and ran about 10 miles and had about ten more to go before we were at the car parked at Devils Lake.
Eventually, we crossed the toe of Lost Creek Glacier and hand-railed the southwest side before starting up the West Ridge. It's a long way out there, but the final climb on the West Ridge of South Sister would be the perfect final uphill test.
It's 2500' of straightforward uninterrupted vertical gain. There were few route-finding challenges, so we could continuously move uphill without stopping.
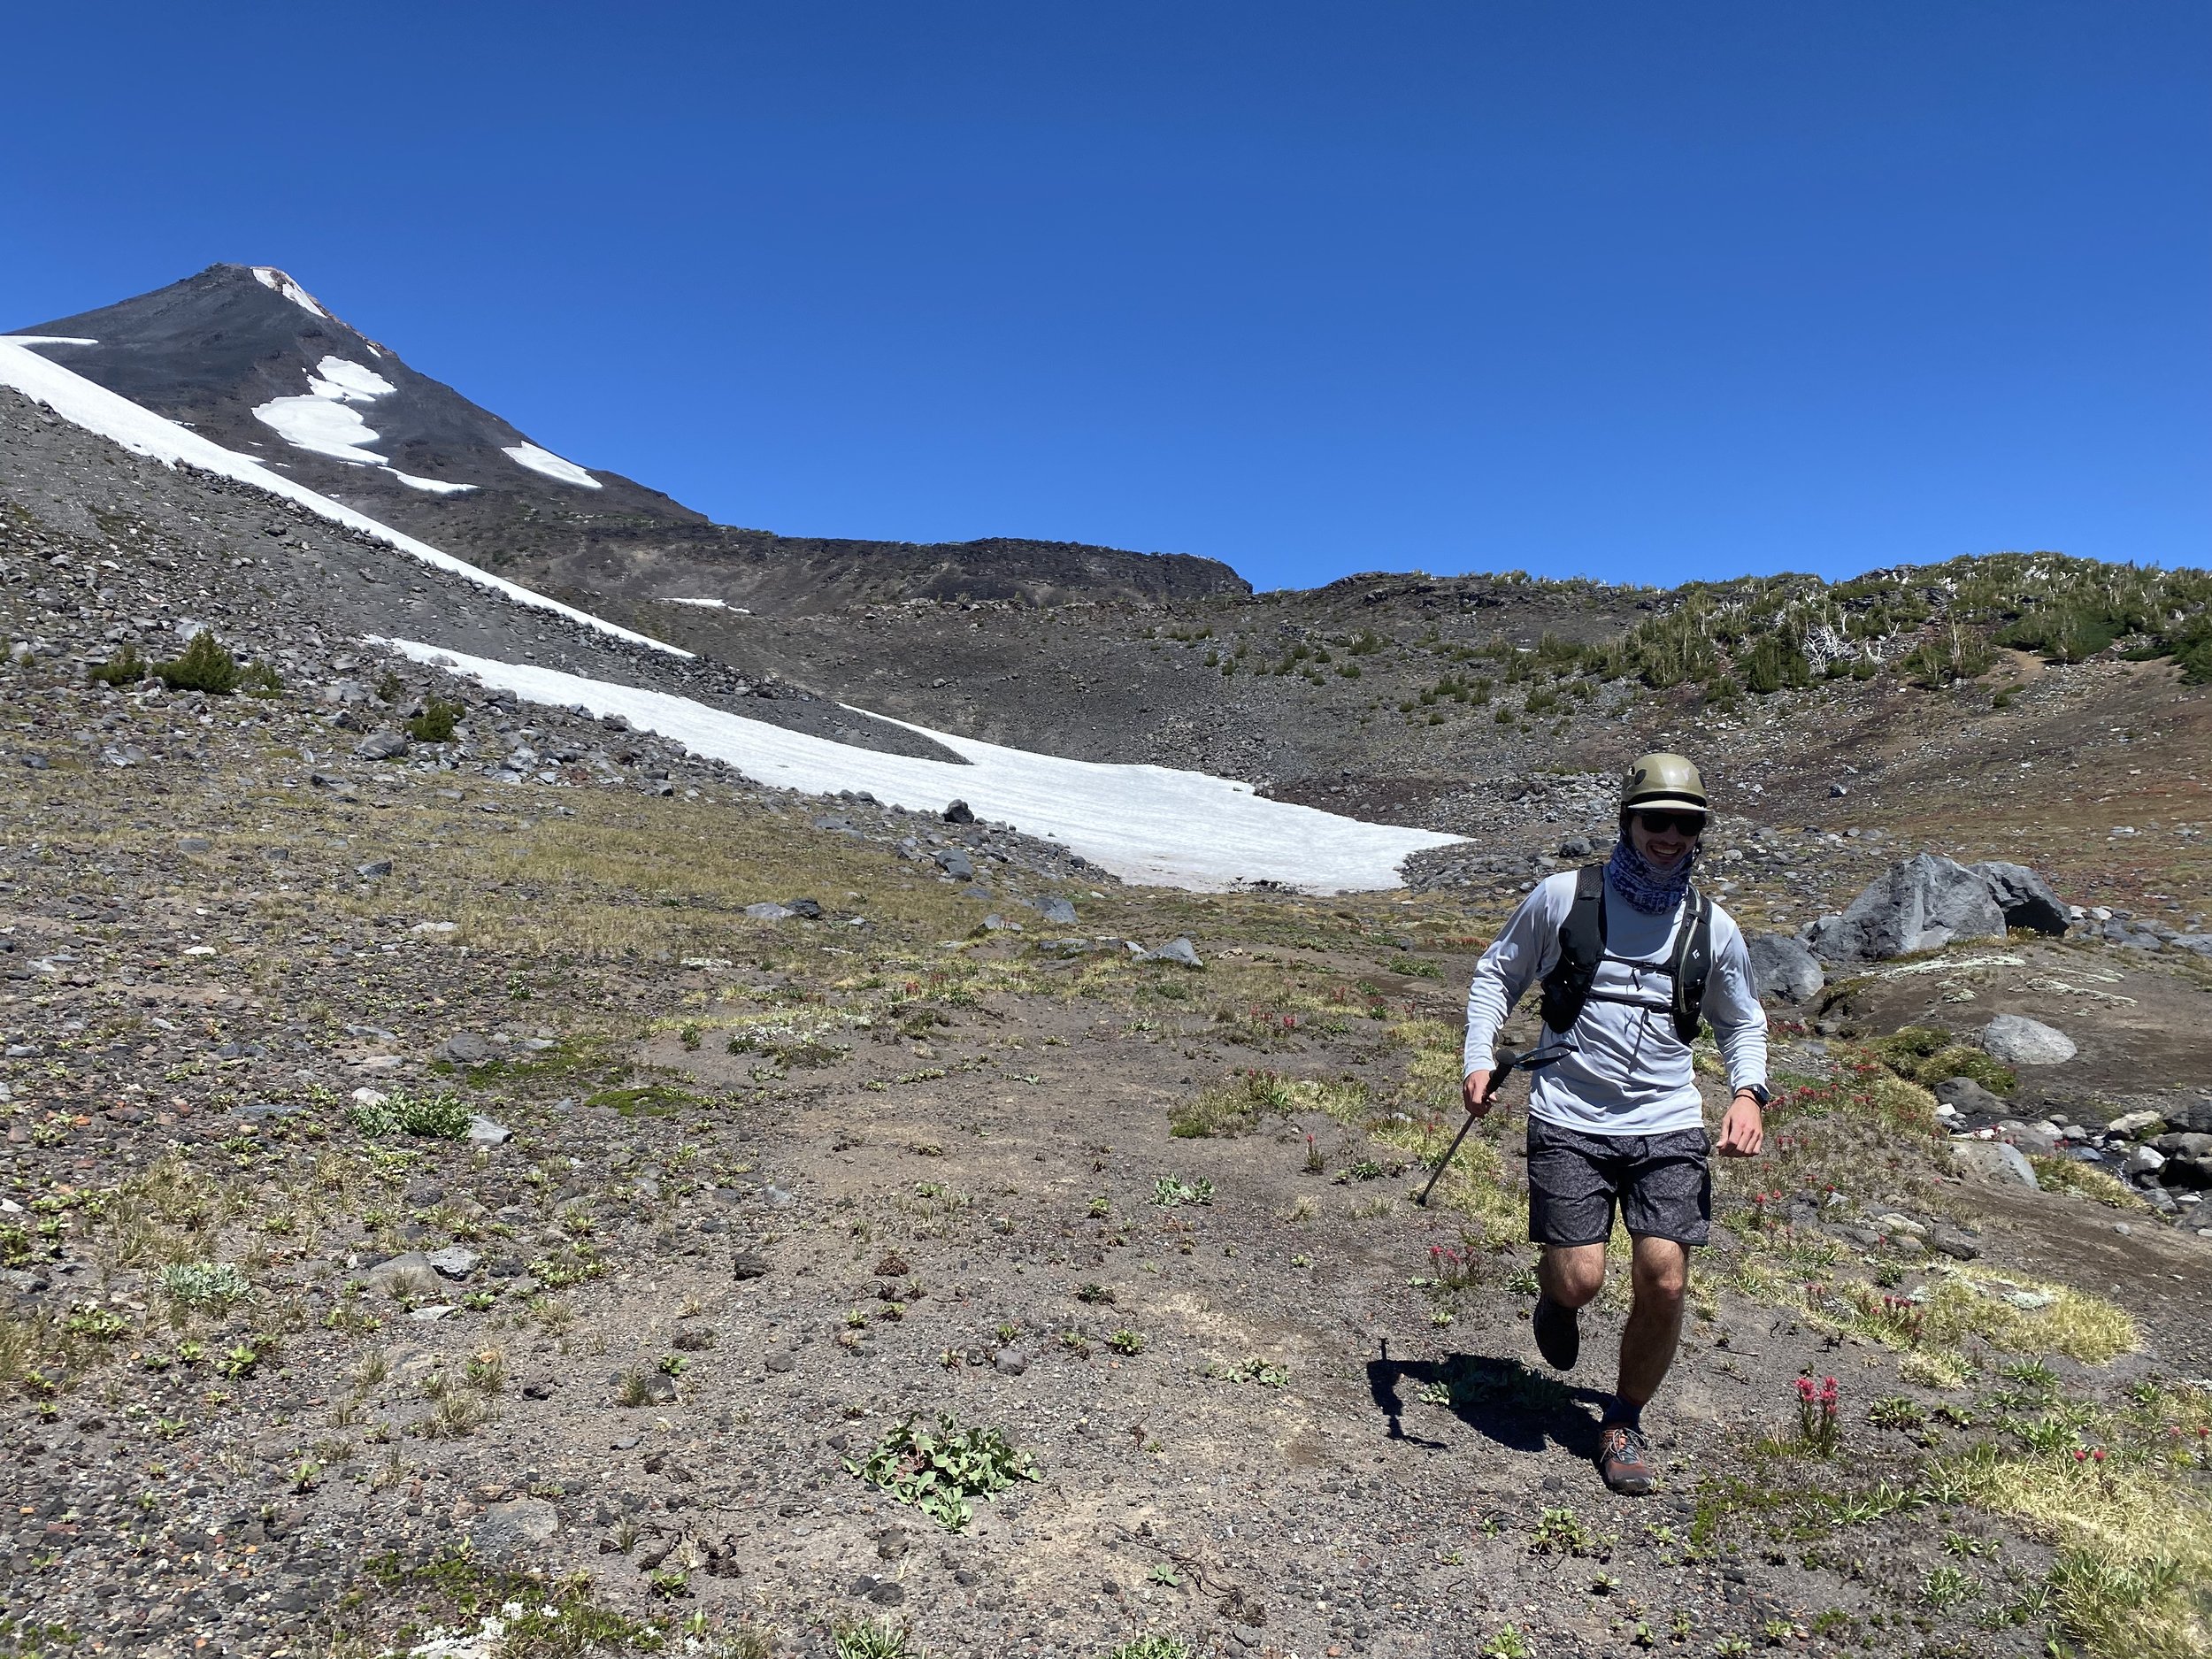
The hardest part of this section was the loose scree, but it felt great! I felt strong and energetic for the entire climb. I tried to stick to the most prominent and solid rock features.
It took some patients, but we got it done relatively easily.
Finally, at the top of the west ridge, we shuffled across the summit snowfield, past "Teardrop Pool," and up to the true summit on the eastern edge of the summit rim. Boom. It was time to empty our shoes again and boogie down. We descended the south side climbers trail at a trot, reached the flats, emptied our shoes one more time, and began to run towards the South Creek drainage. We dropped into South Creek drainage and continued running the trail towards Devils Lake. We were still running at our fastest clip yet and feeling good enough to chat about music, the cooler of cold beverages in the car, and the validity of scree gaiters.
At the bottom of the drainage, we made a right to add a section of trail leading to Devils Lake via Tyee Creek. This turn would add a little distance, but the buffed-out tread on these trails made the travel feel effortless after so much off-trail hiking.
Our last mile was our fastest. We made the final turn and could see the car. We accelerated and finished at our fastest pace of the day.
We hung out long enough to hydrate with Water and a cold beer. There was still plenty of daylight remaining, so we'd have time to drive back to Pole Creek to retrieve the other car, shower, and catch the final sets of a Blues Festival happening in Sisters that night. That's what I call a fun and fulfilling day!
We’re almost there, stay with it! Read part 5 for the debrief and to unpack some of the details.